Building a Raspberry Pi Stats Web Server with Next.js: A Fun Learning Experience
I recently explored an exciting project where I turned my Raspberry Pi into a web server that displays real-time system stats like CPU usage, memory, and temperature. While many people might use Python and Flask to achieve this, I followed a Next.js guide on PiCourse.dev and built the web server using modern web technologies. Here’s how I went about it and what I learned along the way!
Why Raspberry Pi?
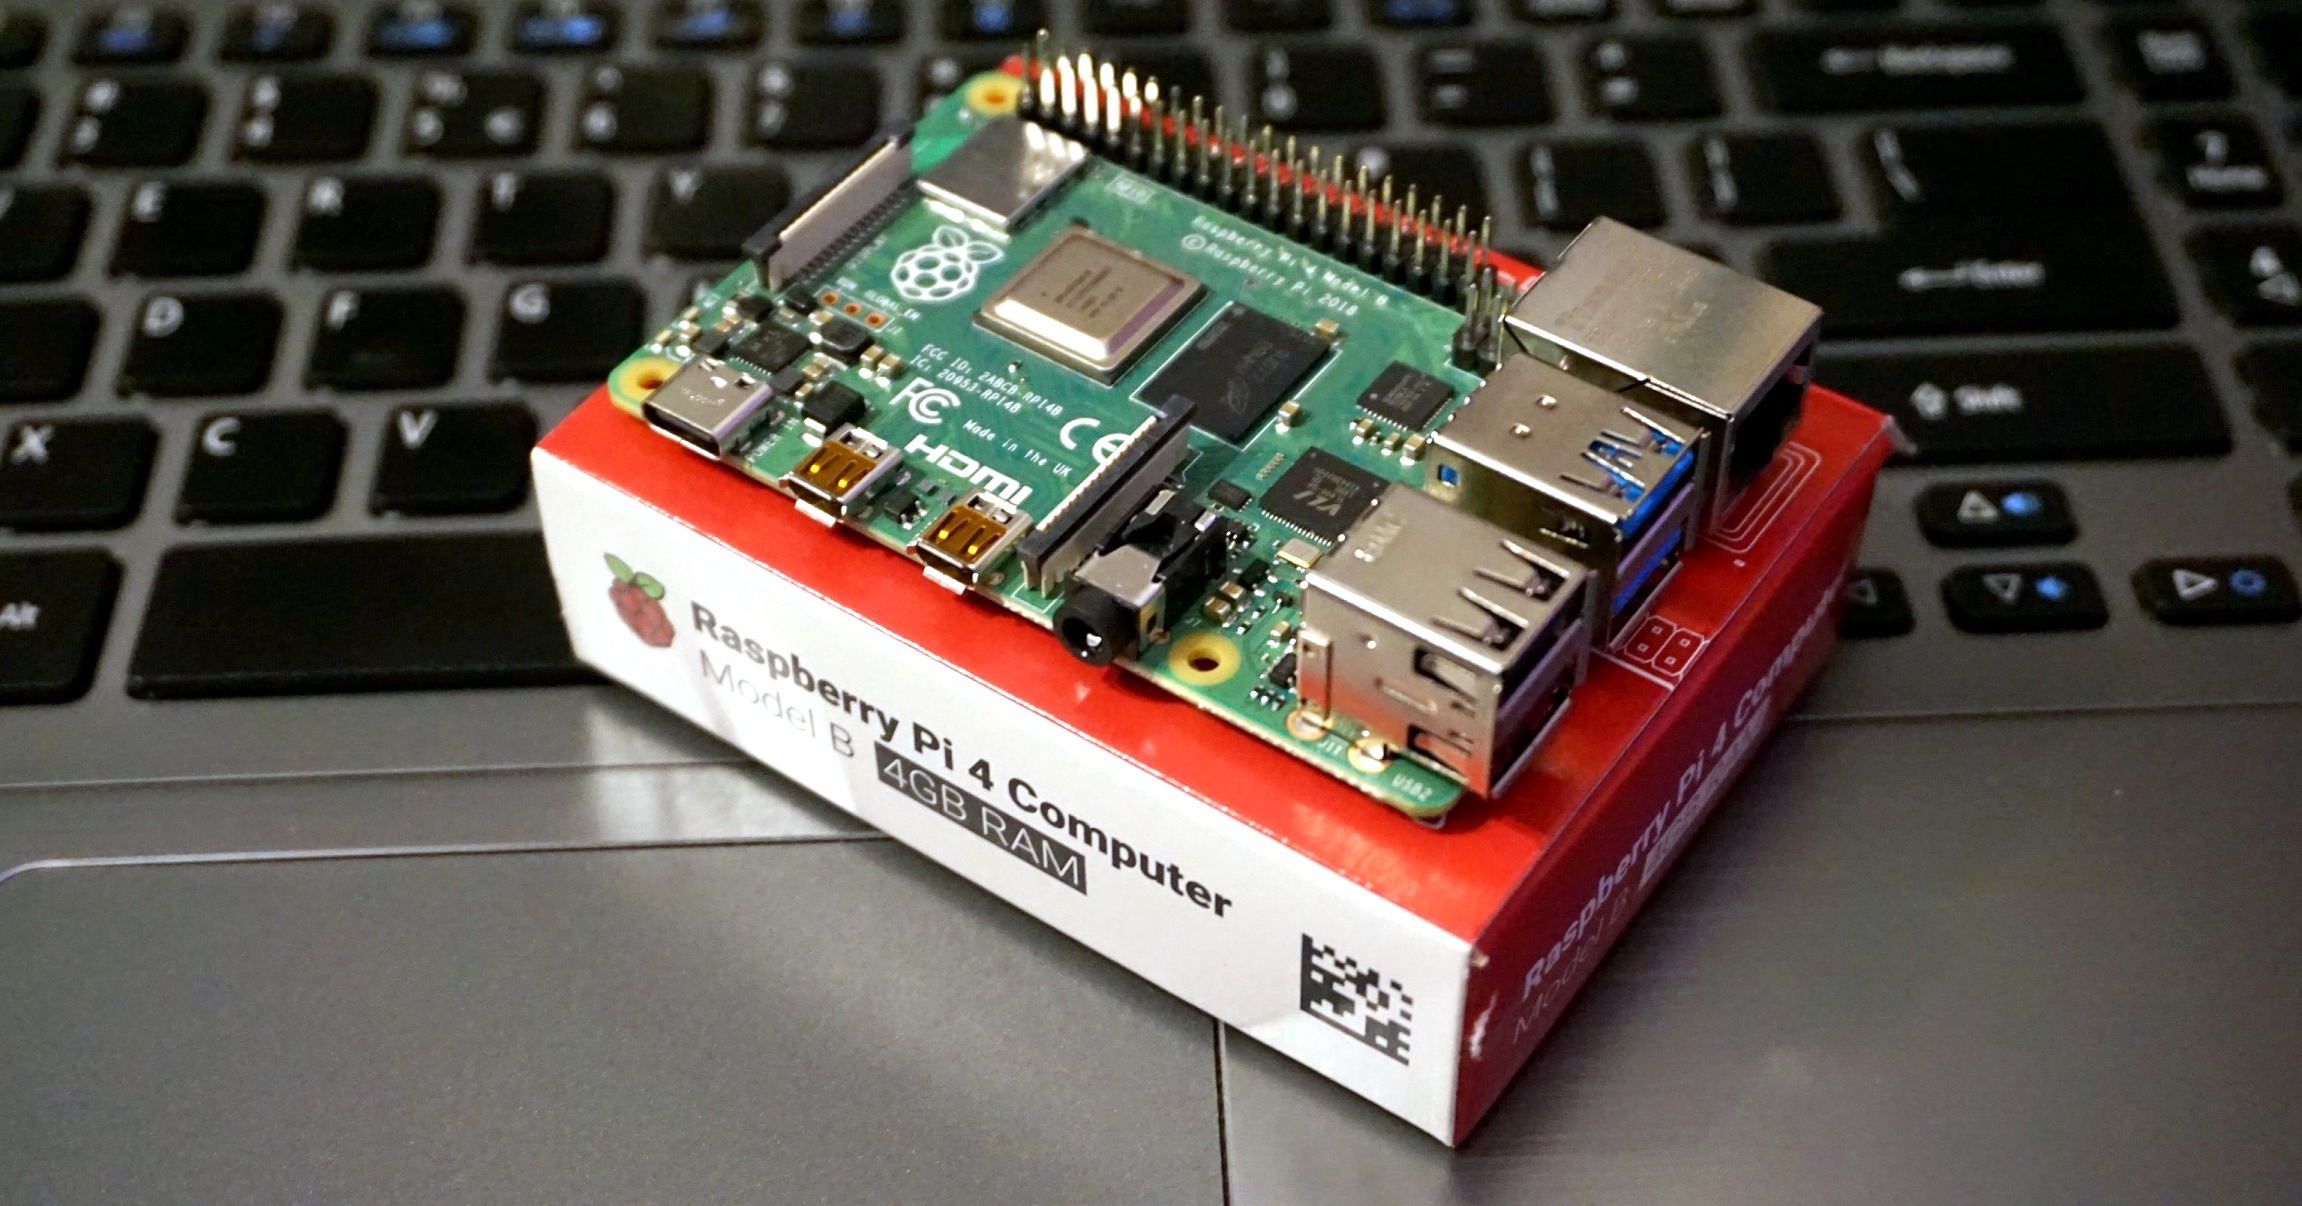
The Raspberry Pi is a small but powerful computer that’s great for many different projects. I’ve always wanted to use mine for something practical, and building a web server to display system stats seemed like a perfect fit. Using Next.js for this project not only allowed me to learn more about the JavaScript framework but also gave me a polished and responsive web application that I can access from any device on my network.
I have a Raspberry Pi 3b that have been laying around for years. I just found it in one of my drawers, and decided to do a quick project with it. The 3b is almost 9 years old now, so I was eager to see how it was performing. I decided to start with a small project that I could complete in an evening to test the performance.
I used the official Raspberry Pi imager to load the Raspberry Pi Lite OS on to the RPI.
Why Next.js?
Next.js is a powerful React-based framework that makes it easy to create modern web applications with server-side rendering. Its support for static and dynamic content made it ideal for this project. Instead of creating a simple one-page app, Next.js helped me build something scalable and maintainable, with a professional-looking interface for monitoring my Raspberry Pi.
Project Overview
In this project, I wanted to build a web server that:
Displays real-time system stats like CPU usage, memory, and temperature. Uses Next.js for its modern web development features. Runs efficiently on a Raspberry Pi, making it lightweight and performant. Setting Up the Raspberry Pi Web Server
Step 1: Installing Node.js and Next.js
The first step was setting up my Raspberry Pi with Node.js. Next.js is a JavaScript framework that runs on Node.js, so getting the right environment ready was essential. To do this, I followed the steps in the PiCourse.dev guide, which walked me through installing the correct version of Node.js for Raspberry Pi:
curl -sL https://deb.nodesource.com/setup_16.x | sudo -E bash -
sudo apt install -y nodejs
Oncke Node.js was installed, I created a new Next.js project using create-next-app:
npx create-next-app my-app
cd my-app
npm run dev
Step 2: Gathering System Stats
To display system stats, I used the os module in Node.js. This module provides access to operating system-related utility functions that are perfect for this project. The stats I wanted to collect were CPU usage, memory consumption and temperature.
Here’s the code I used to gather the Raspberry Pi stats:
import os from 'os';
import fs from 'fs';

export function getSystemStats() {
  return {
    cpuUsage: os.loadavg()[0], // 1-minute load average
    memoryUsage: (os.totalmem() - os.freemem()) / os.totalmem() * 100, // Memory usage in percentage
    diskSpace: getDiskSpace(), // A function that gets disk usage
  };
}

function getDiskSpace() {
  const { size, free } = fs.statSync('/');
  return ((size - free) / size) * 100;
}
This function extracts the real-time stats from the Raspberry Pi and returns them as a JavaScript object. The os module’s loadavg() function gives me the CPU load, and totalmem() and freemem() provide memory usage.
Step 3: Creating the API in Next.js
In Next.js, creating an API route is straightforward. I created a file called system.ts in the pages/stats/ directory. This file defines an API route that fetches the system stats and returns them in JSON format:
import { getSystemDetails } from '../../lib/system';

export default function handler(req, res) {
  const stats = getSystemDetails();
  res.status(200).json(stats);
}
Now, when I navigate to /api/system, the system stats are fetched from the server and returned as JSON. This allows me to use the data dynamically in the frontend.
Step 4: Building the Frontend to Display Stats
With the backend in place, I moved on to the frontend. Using React (which powers Next.js), I created a clean, responsive page that displays the Raspberry Pi’s stats in real-time. I made use of Next.js’ getServerSideProps to fetch the data on each page load.
Here’s what the core component looked like:
import { useState, useEffect } from 'react';

export default function Home() {
  const [stats, setStats] = useState(null);

  useEffect(() => {
    async function fetchStats() {
      const res = await fetch('/api/system');
      const data = await res.json();
      setStats(data);
    }
    fetchStats();
  }, []);

  if (!stats) return <p>Loading...</p>;

  return (
    <div>
      <h1>Raspberry Pi Stats</h1>
      <p>CPU Usage: {stats.cpuUsage.toFixed(2)}%</p>
      <p>Memory Usage: {stats.memoryUsage.toFixed(2)}%</p>
      <p>Disk Usage: {stats.diskSpace.toFixed(2)}%</p>
    </div>
  );
}
The useEffect hook fetches the system stats from the API endpoint on component mount, and the stats are rendered in a simple and clean layout.
Step 5: Running the Next.js Server
With everything in place, I started the Next.js development server on the Raspberry Pi:
$ npm run dev

> next-markdown-blog@0.1.0 dev
> next dev

ready - started server on 0.0.0.0:3000, url: http://localhost:3000
As we can see from the output of the bash command, the service is now ready on localhost:3000
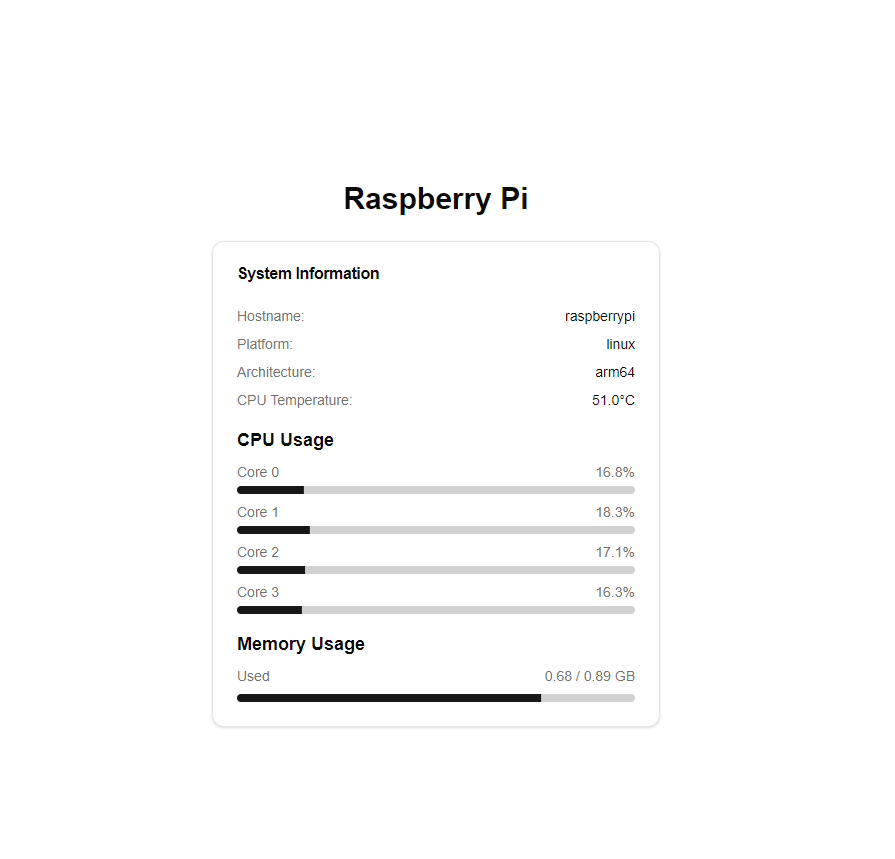
Below is a screenshot of the finished web page and all the stats that it displays from the Raspberry Pi.
Conclusion
Building a Raspberry Pi web server with Next.js to display system stats was a fun and educational project. This projects was mostly to test the limitations of the Raspberry Pi 3b. Although it works as expected, it has a hard time running it. We can see from the stats that uses almost all of the memory available. To be fair, Next.js is probably not the best performing framework on the Raspberry Pi, and it could be better with using other languages or frameworks.
That said, the development process was really not satisfying. I was connecting to the Raspberry Pi through SSH, but it was frequently disconnecting. Opening and browsing files took a long time and starting the web server could take up to several minutes and even crash.
I think the conclusion is that my Raspberry Pi is not really suited for developing anymore, and if I am going to start another Pi project I will buy one of the newer models.